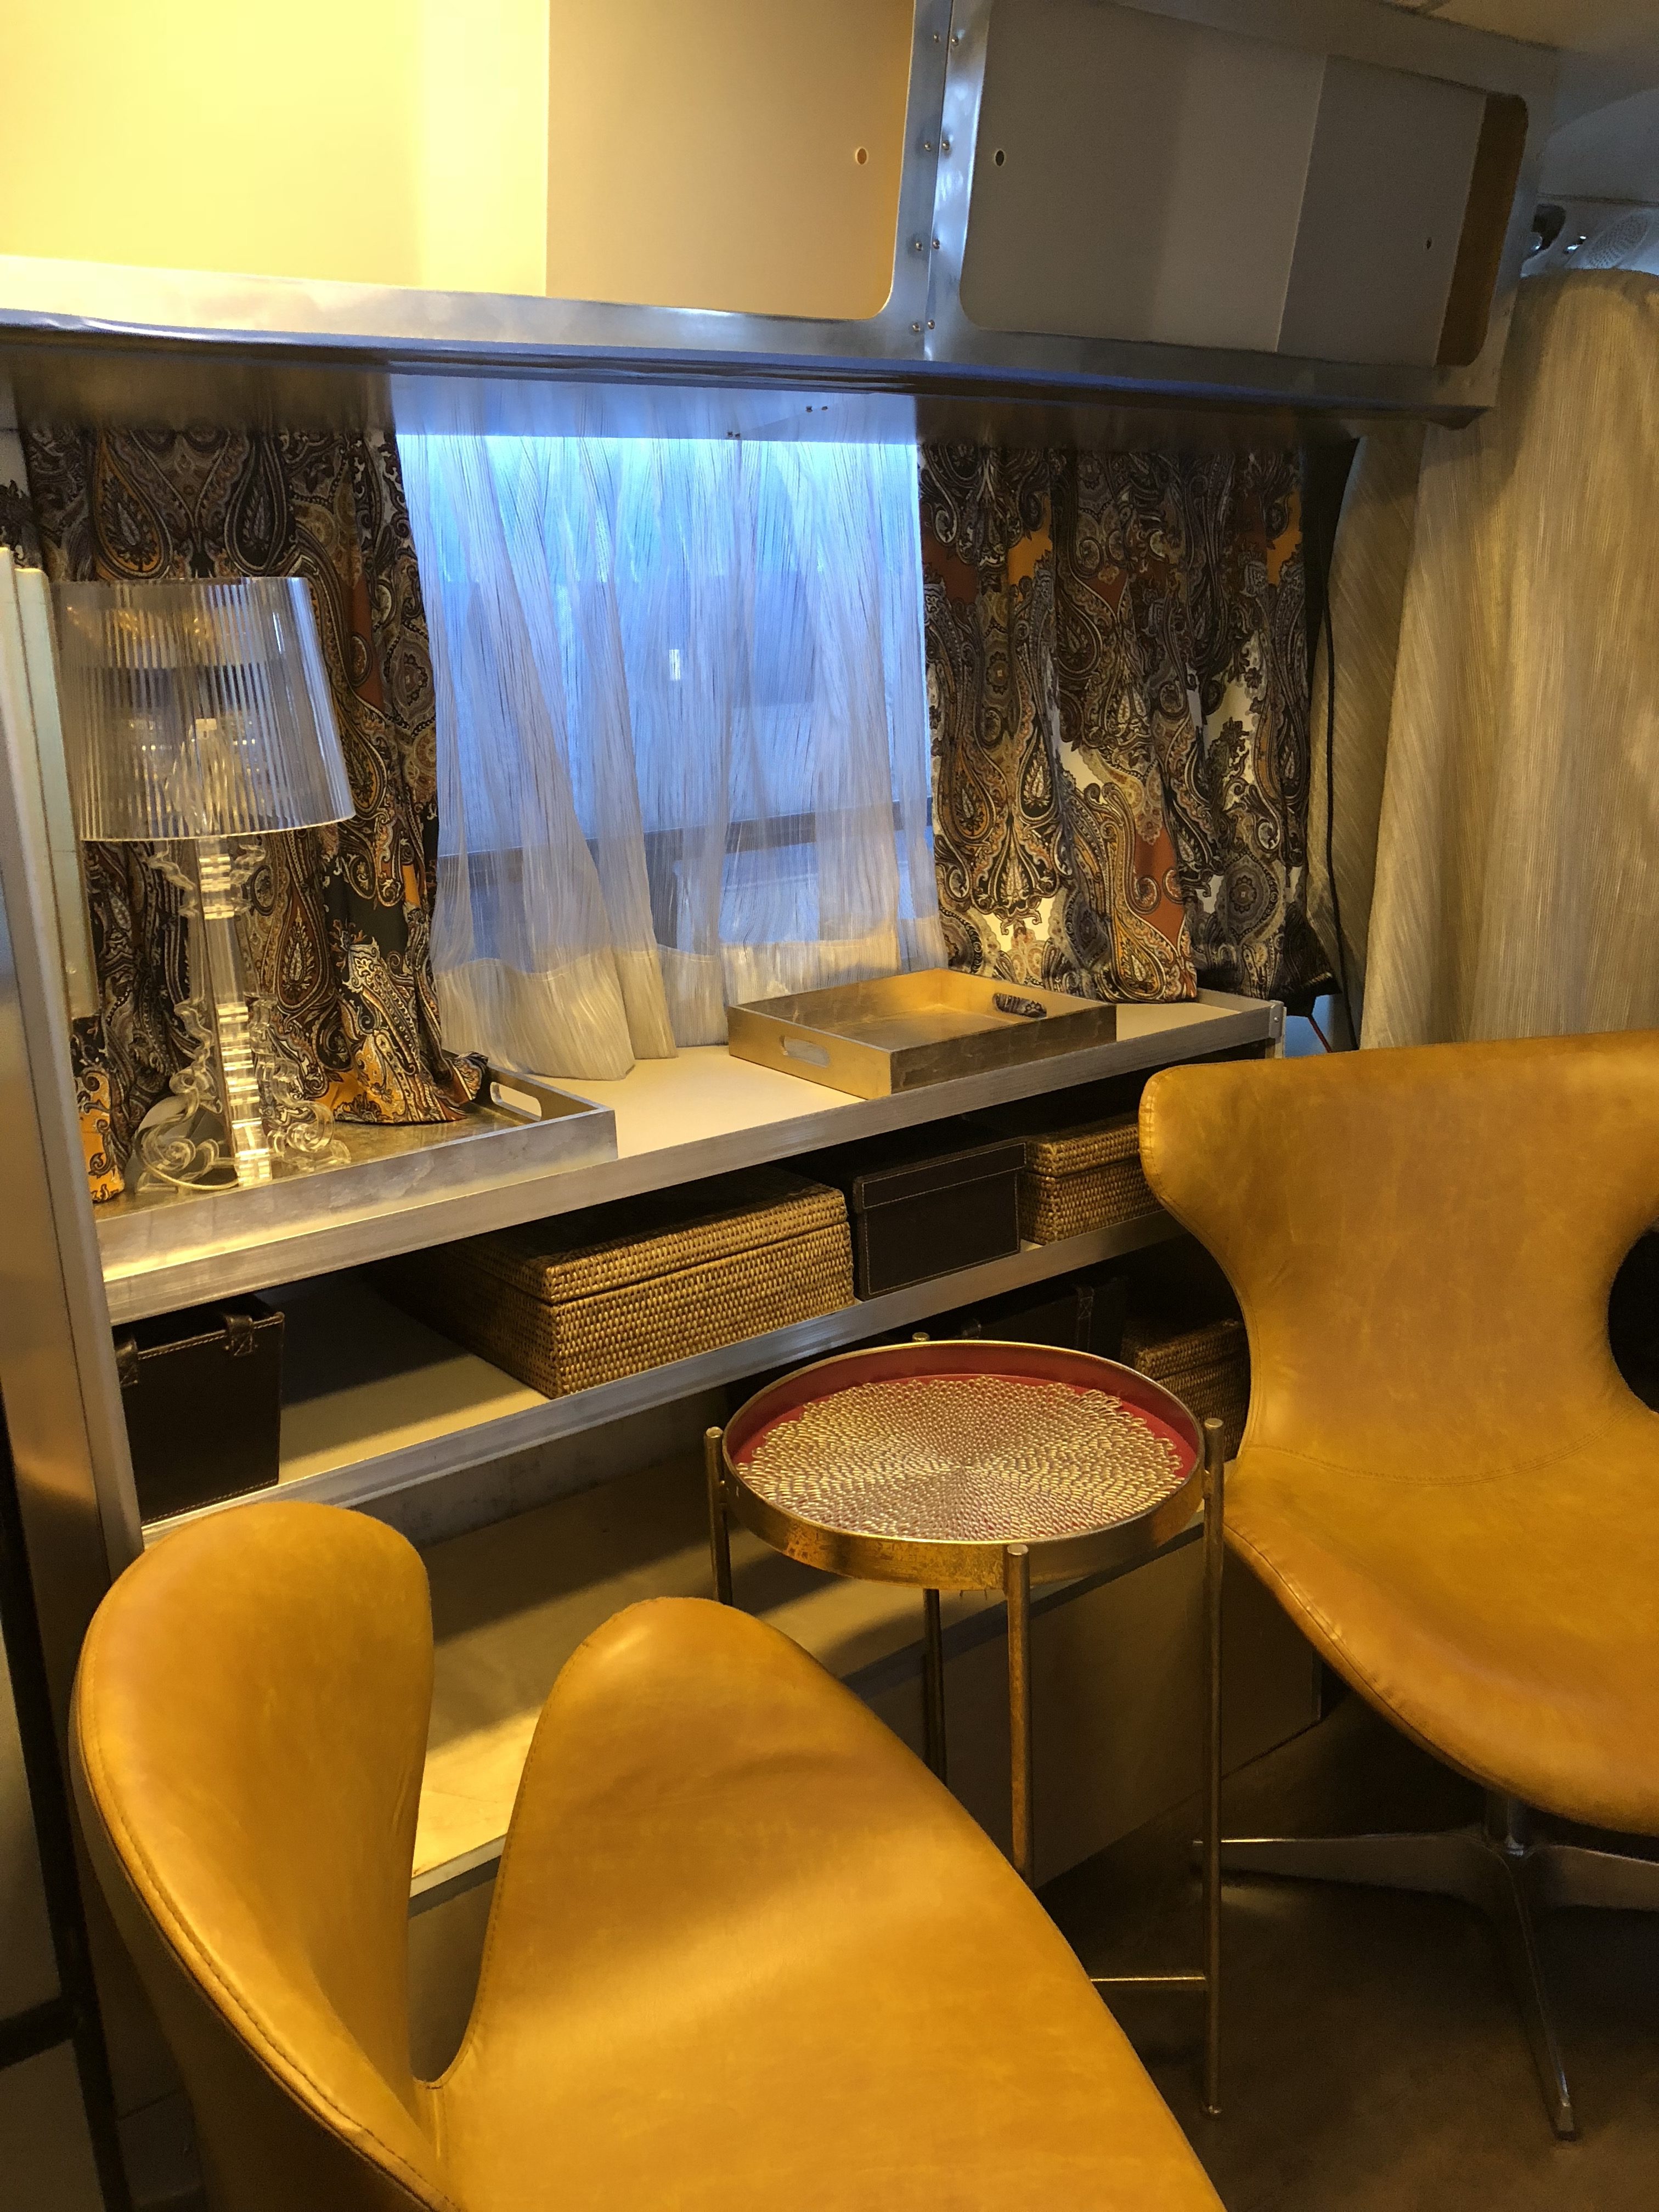
More progress on Fritz. I think people will be puzzled when they see the interior. Minimal. Actually, the far edge of minimal. The living area will be two chairs, a bar cabinet, facing cabinet, and some shelves. The chairs detach and can move outside. Nice little side tables. An aluminum plank that converts the side tables to a dining table–inside or out.
It’s going to be odd. And sparse. And very pretty. But odd.
Anyway, here’s some progress:
Here are the chairs that will slip into brackets on the floor. The side tables (four of them) collapse to a flat and very light stand and a tray. I’ve built a collapsible aluminum top that converts the four side table stands into a dining room table, or two of the stands into a long serving table. The top weighs two pounds. All the tables and tops will store in the puka between the end of the battery box and the cab step.
A box for the water heater and battery. This is 3/4″ birch plywood. I’ve budgeted two sheets of prefinished birch ply for the refrigerator box, the frame of the kitchen cabinets, and this box. The flush aluminum edging is a design element I will repeat on all cabinet doors and drawer fronts. The drawer boxes will be aluminum and the interior shelves and countertops will be honeycomb aluminum.
This is one of two batteries. For you battery geeks it’s a 4S45P made from 180 32650 LiFePO4 5000mah cells with a 4s 60 amp BMS. That’s 225 AH, and 2880 watt hours. The second battery will be connected in series for 25.6 V to drive the inverter, to be charged from the MPPT solar controller, line charging and to run the refrigerator. I’ll split out 12V for cabin lights and everything else that needs 12V.
I started spot welding the batteries but ran out of nickel strips. Major miscalculation. Off by a factor of four. The strips needed a few kinks in the middle. I had to make the spacer from a sheet of formica with a holesaw–there aren’t any good premade spacers for 32650 batteries–at least none that I found. The middle got a little wanky because the sheet was too wide to fit the throat of my drill press and I had to do it by hand. Once one hole gets off it pushes the others. No matter, it will work fine and no one is going to be seeing this thing, but it’s irritating. If it hadn’t taken so long to make and been so tedious I would have started over.
Here’s a shelf bracket, cut and shaped in the bead roller.
Gratuitous holes punched and trimmed.
Folded and ready for polishing and welding. I’m going to weld the middle brackets to the honeycomb shelves since I need to splice them anyway. I’m getting pretty good with TIG. The end brackets will be single sided and also welded to the shelves. They’ll screw into holes I’ve drilled and tapped in the body extrusions. It’s a pleasure attaching things to this Moho. The structure is bomber.
The top of the shelves will be covered with a vinyl fabric that looks like Stingray skin. Diane is outdoing herself on the design side. Of course, that’s a two-edge sword. After spending two hours making this bracket her comment was “does it have to be so wide”. Oof.
She’s doing great drapes and coverings. Here’s the drape fabric for the main room:
Just as a reminder, here’s the original interior.


