Fritz has taken up a HUGE amount of my time this summer. It’s not a terrible thing since I’m enjoying the creative work, and the grunt side–the mechanic-ing–is familiar and comfortable.
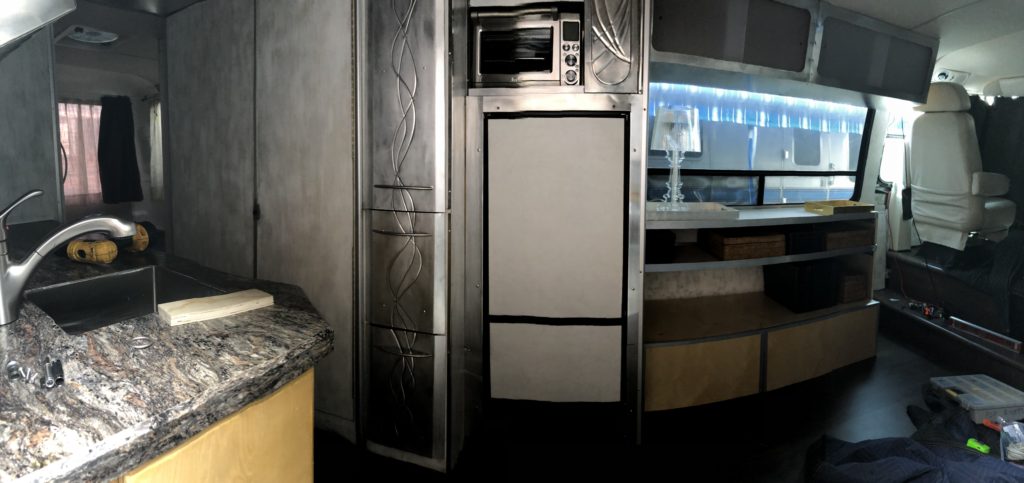
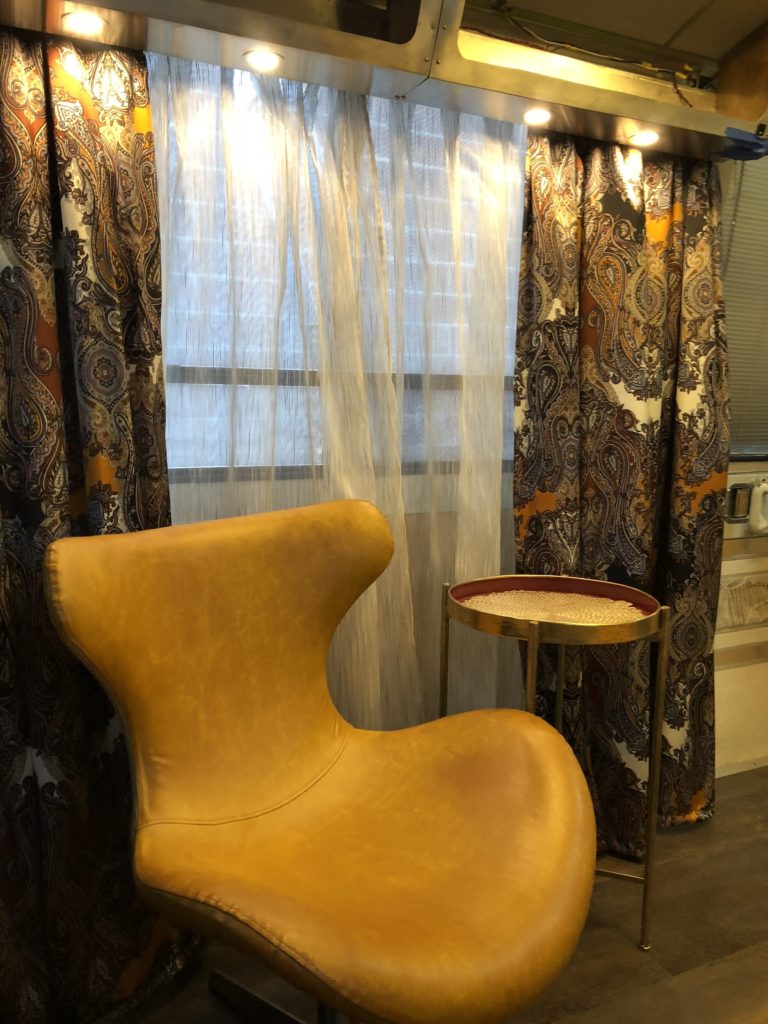
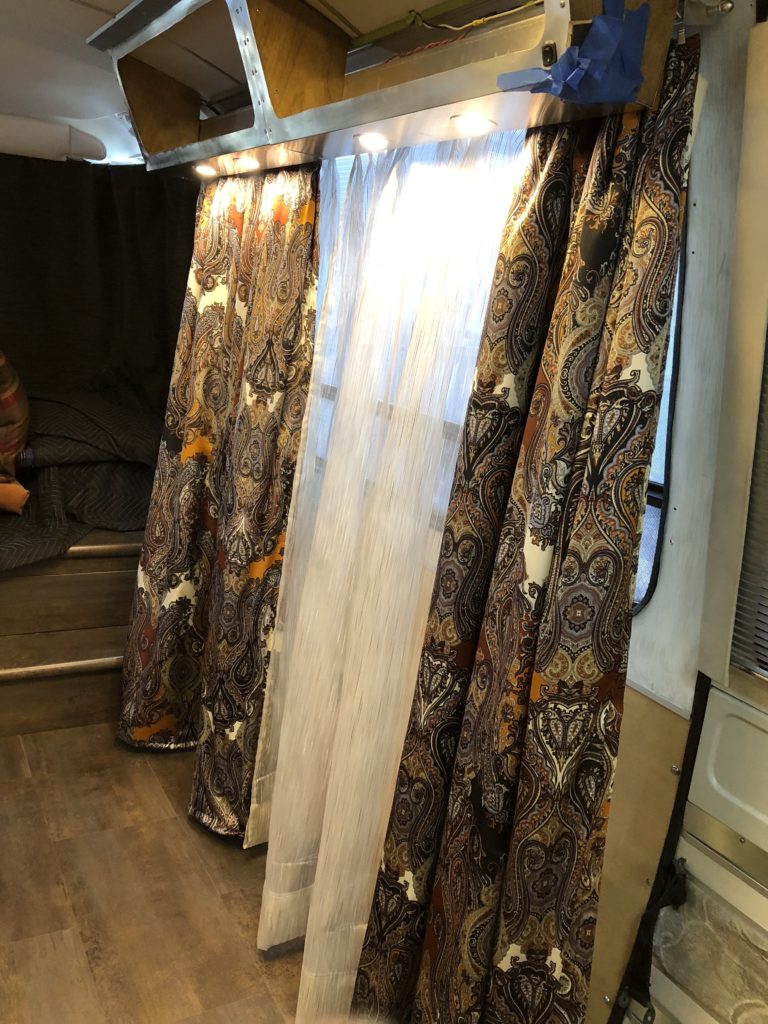
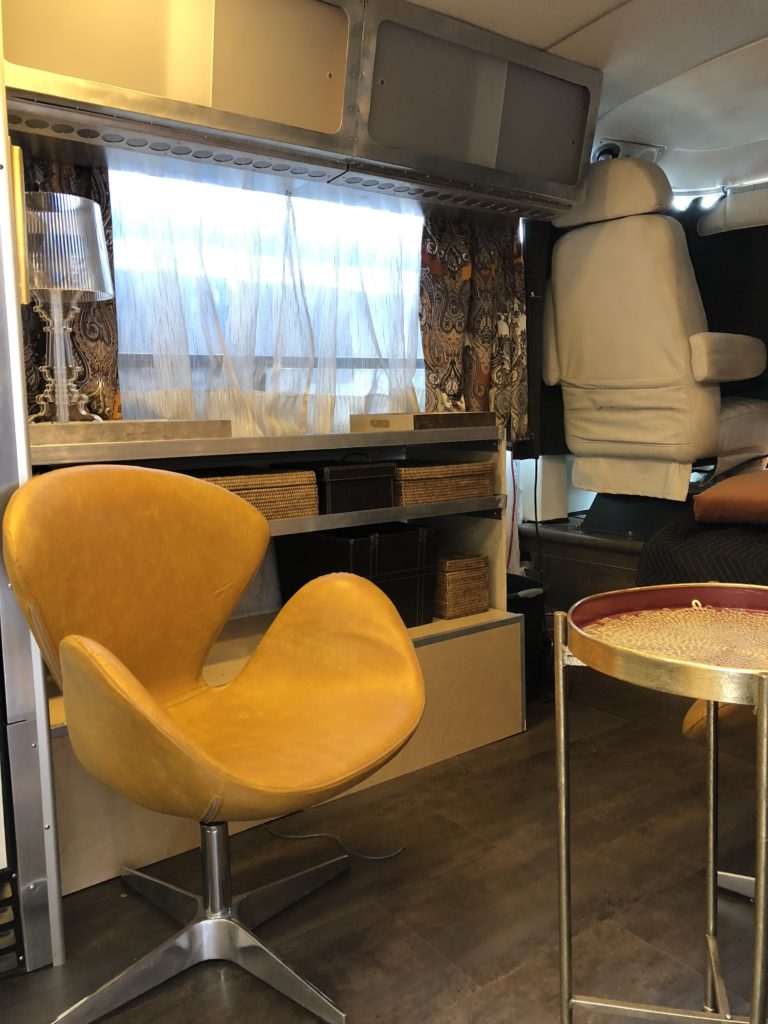
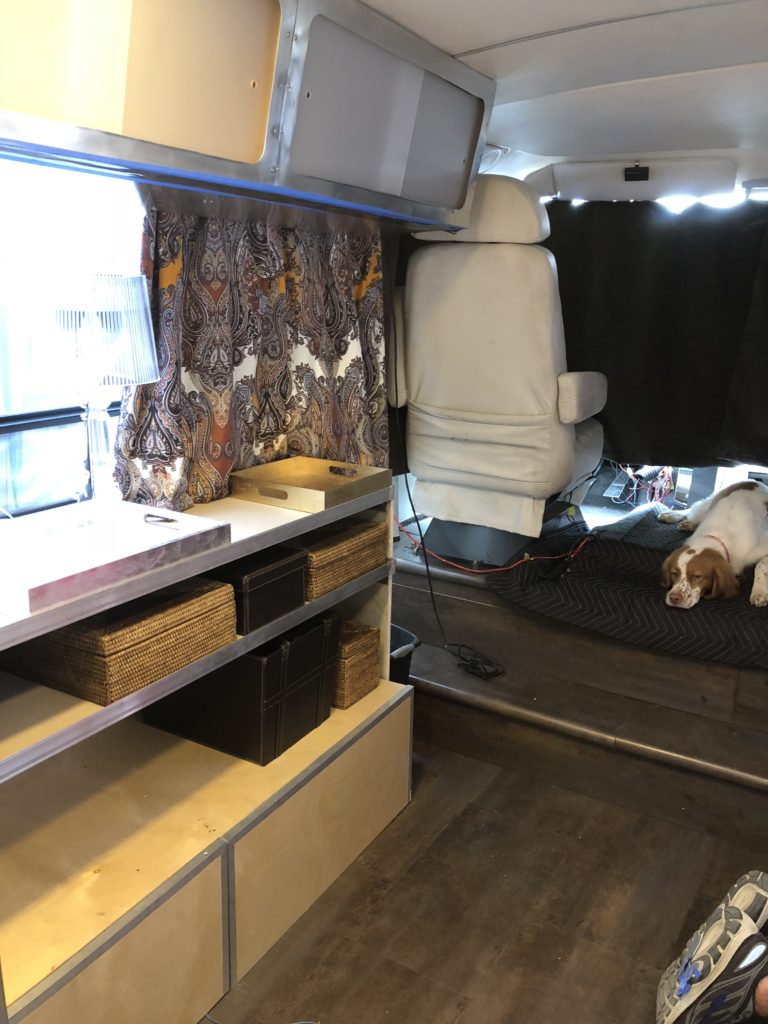
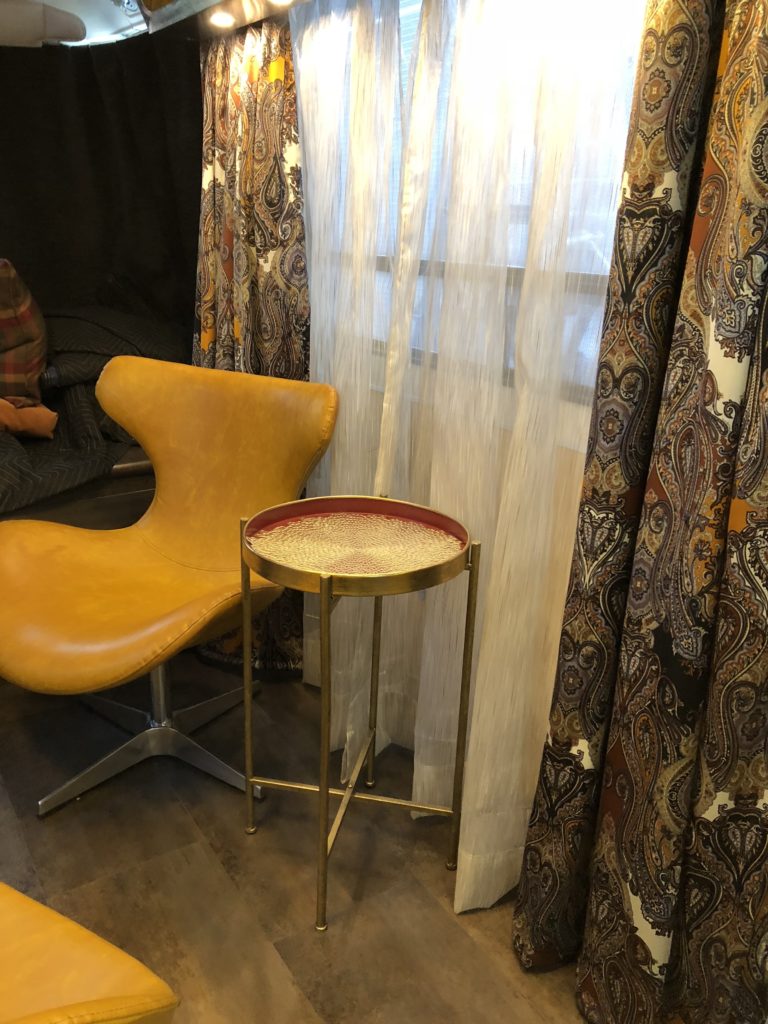
The interior design is basically complete, though anyone looking at it might find that a surprise. It’s sparse. Diane and I really don’t like the cramped feeling of most motor homes–the dinette that takes up a huge block of space and leaves you edging your way down a narrow aisle. The heavy overhead cabinets, the cramped kitchen. So yeah, it’s simple and open.
Here’s a hugely distorted panoramic view of the interior:
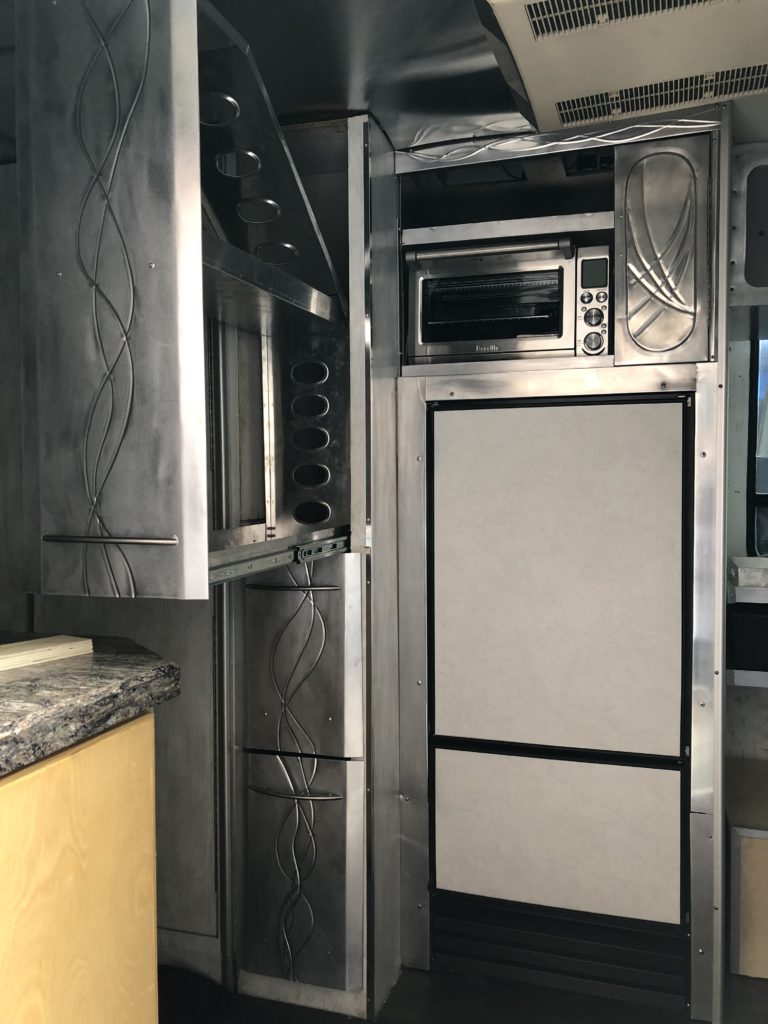
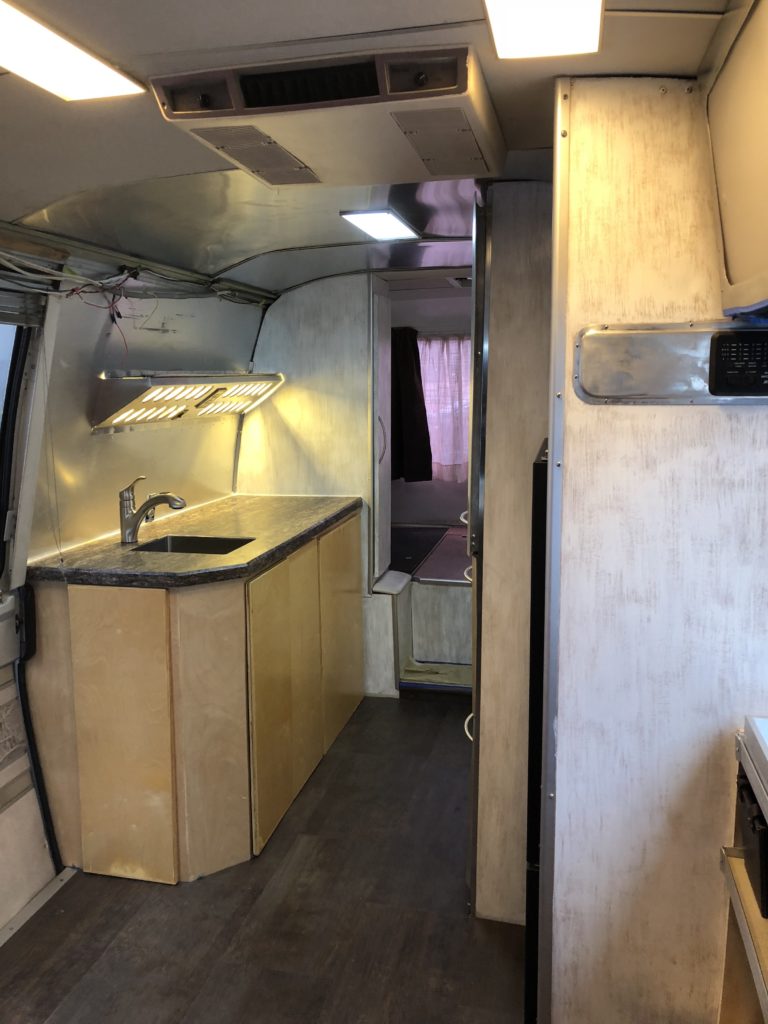
The refrigerator is really great compressor type made by Nova Kool. It has the singular advantage of not bursting into flame as the absorption type occasionally do. It’s also very efficient in both DC and AC mode. I made the decision to have no propane in this coach–all-electric. We’ll be cooking on induction plates, which can be used both inside and outdoors. They store under the counter with the pots and pans, leaving the counter space unencumbered. Above the refrigerator is an electric toaster oven. Very useful and fairly efficient. The heat from the oven warms the open rack above it, useful for both keeping food warm or warming plates.
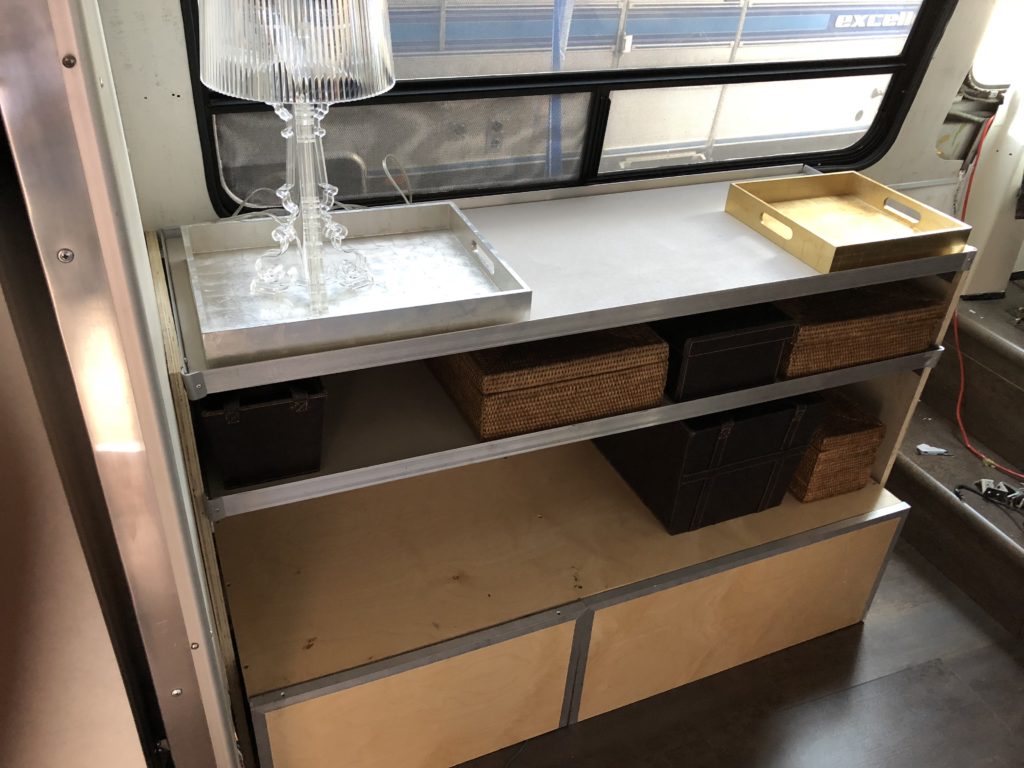
The pantry shelves are all ultralight. The shelves I removed totaled over 120 pounds. These are less than ten pounds each
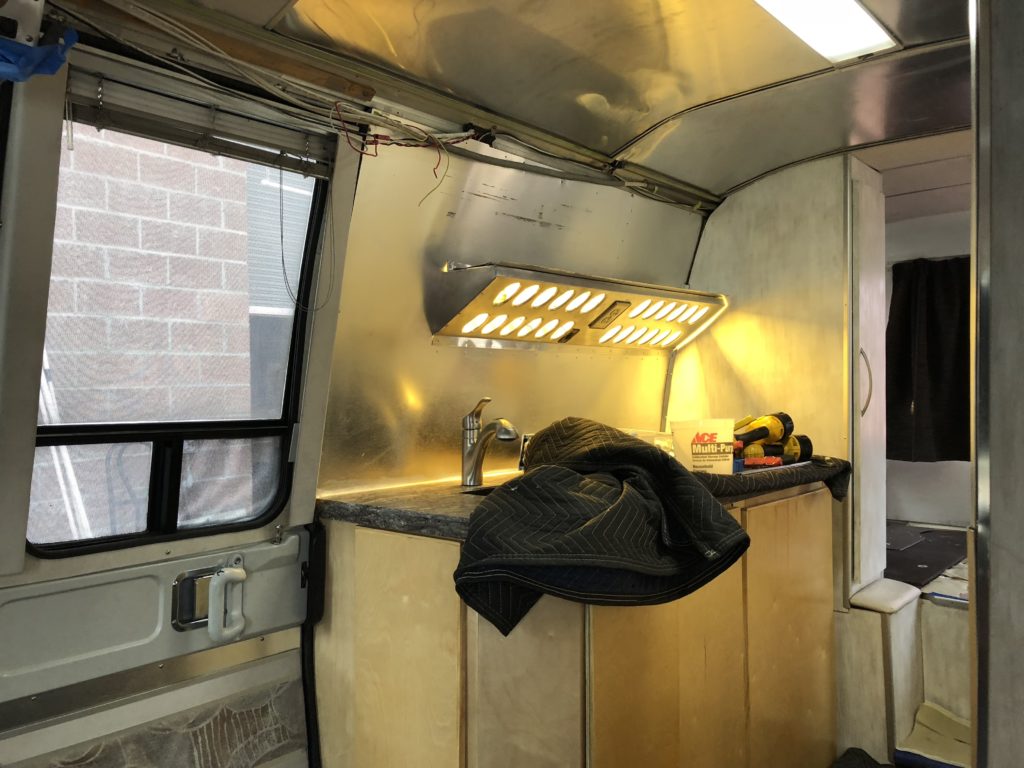
This is the over-counter light and vent fan for the kitchen. It also houses an outlet for the induction cooktops. The shelf above is for food prep. It includes a fold-out extension for supporting platters. The cooktops we are using are made by Tasty and include a thermometer and smartphone control, which lets them be controlled remotely or programmed for complex cooking sequences and can be used as a slow cooker.
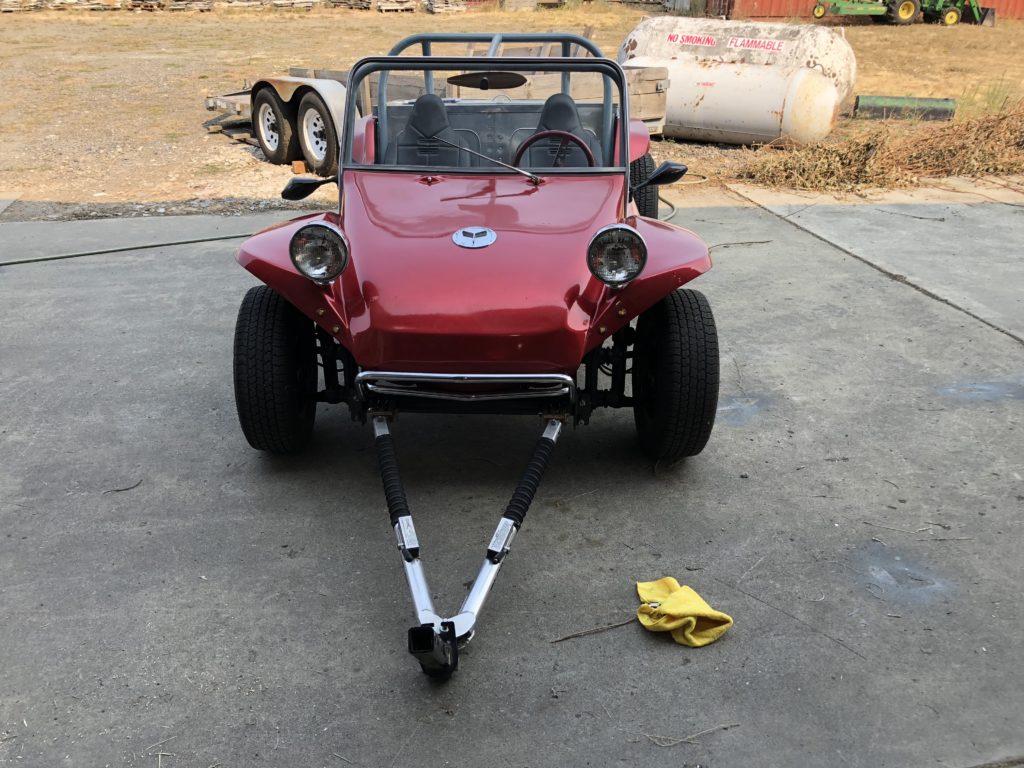
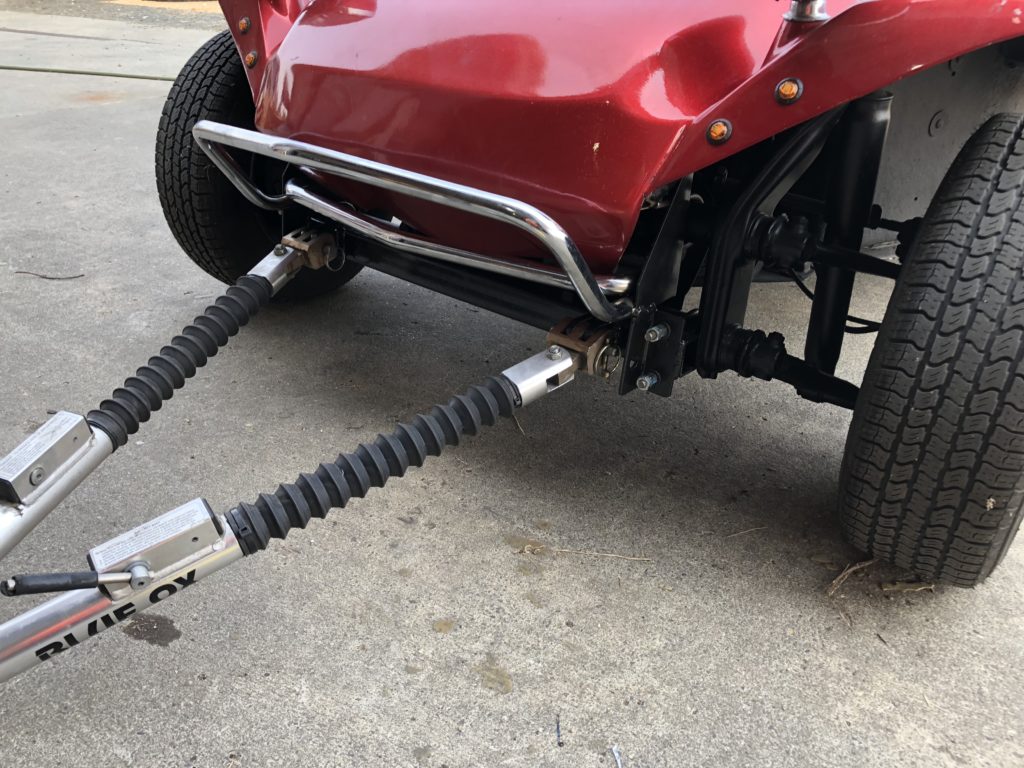
While I was doing all this I also added a towbar/bumper to Archie, the dune buggy we plan to use as a dingy for Fritz.
The Propane tanks in the background are for my next really stupid project–a giant smoker in the style of Austin’s justifiably famous Franklin Barbecue.
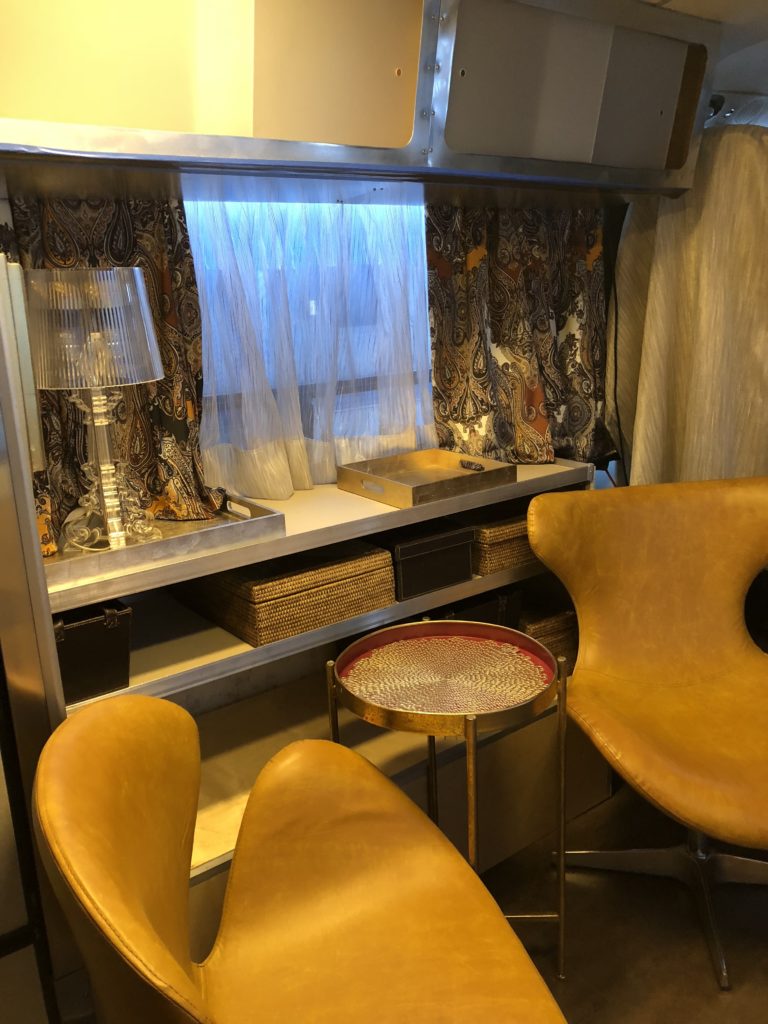
These shelves are more high-tech than they seem–honeycomb aluminum panels covered with faux stingray shagreen and trimmed with aluminum edges. Turns out you can’t weld honeycomb aluminum–made a mess, and now we know, eh? The box below houses the water heater to the left, and a 6000-watt low-frequency true sine inverter charger and two 100AH 12V lithium batteries. The batteries currently are my own design, using LiFePO4 cells and a 12V BMS. I may switch to commercial LiFe batteries if my BMS continues to give me fits.
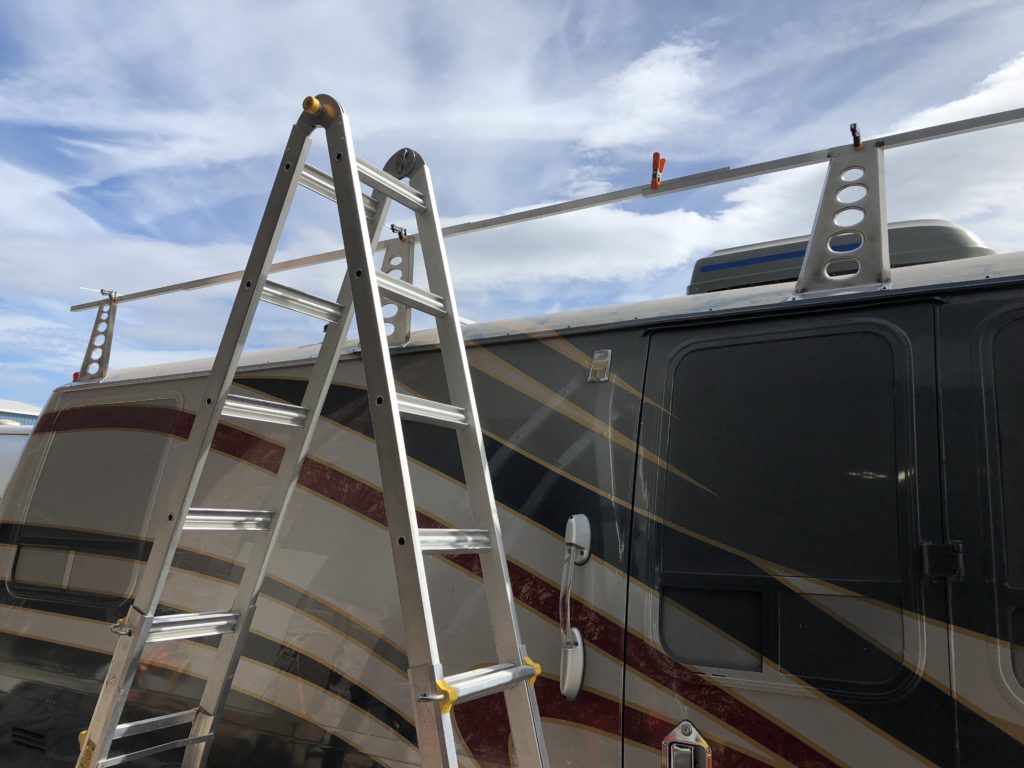
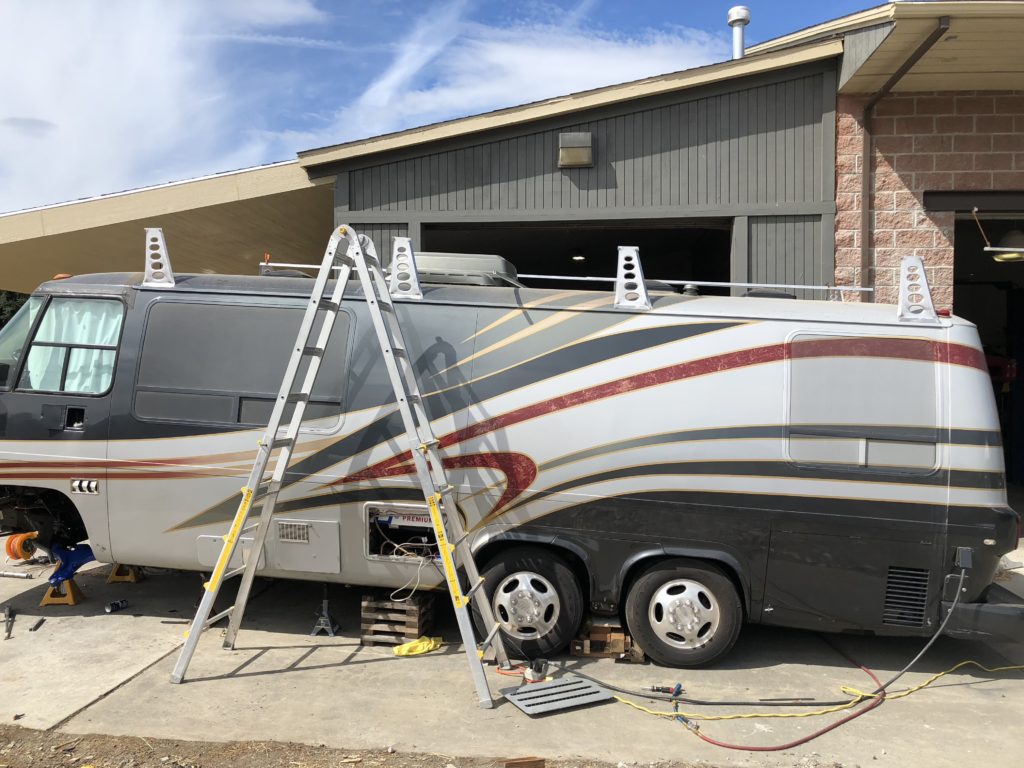
Ultimately I’ll have somewhere around 6-800AH (7000-10,000 watt/hours) of Lithium batteries, depending on what we determine is required. We want to be able to “dry” camp, meaning, no connection to power or water, but still cook and run air conditioning and heat as necessary. Which brings me to the massive solar array I’m sticking on the roof. Six 300 watt panels covering the entire roof–1800 watts of solar power. In full sun I should be able to run the air conditioner and still juice the batteries a little. The panels go over all the vents and air conditioners. We’ll have roof storage for some stuff, and of course for surfboards and foil equipment, but it will be under the solar panels. I’ve built the brackets for the raised rack and I’m waiting for some additional angle aluminum to weld up the rack frame. I’ve ordered a Colman Mach 8 low profile air conditioner to replace the tall one now in place. When the rack is done it will have a streamlined front cover and doors on the sides to allow stuff to be put on the roof. I’m going to cover the entire roof in EVA–basically yoga pads.
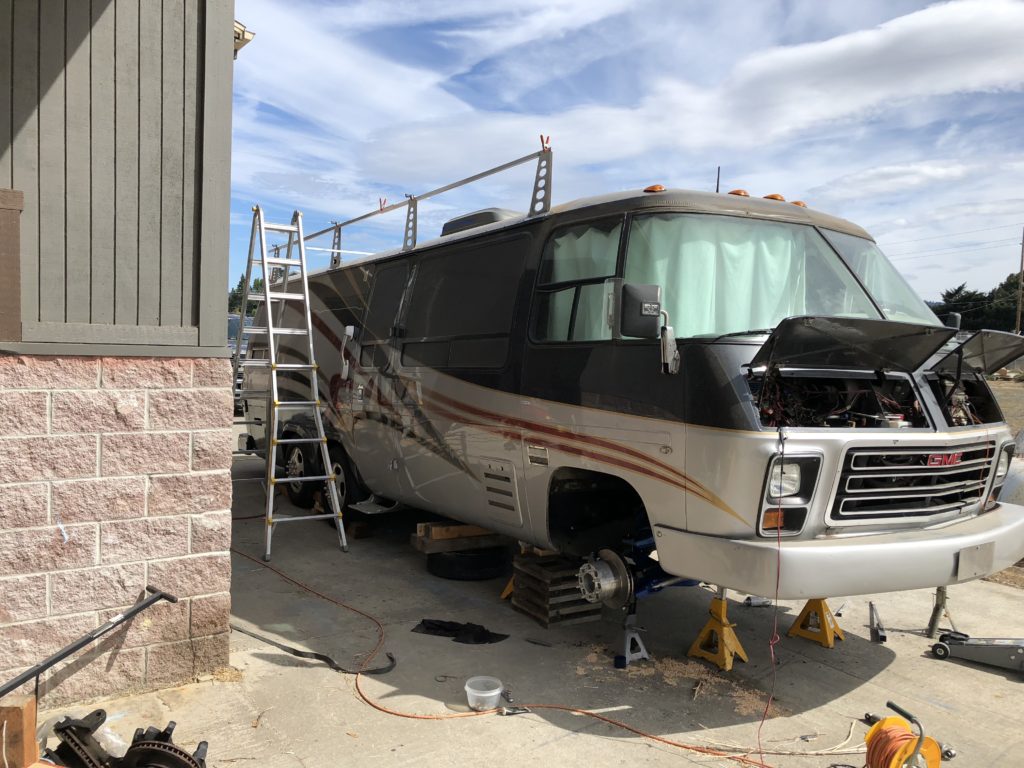
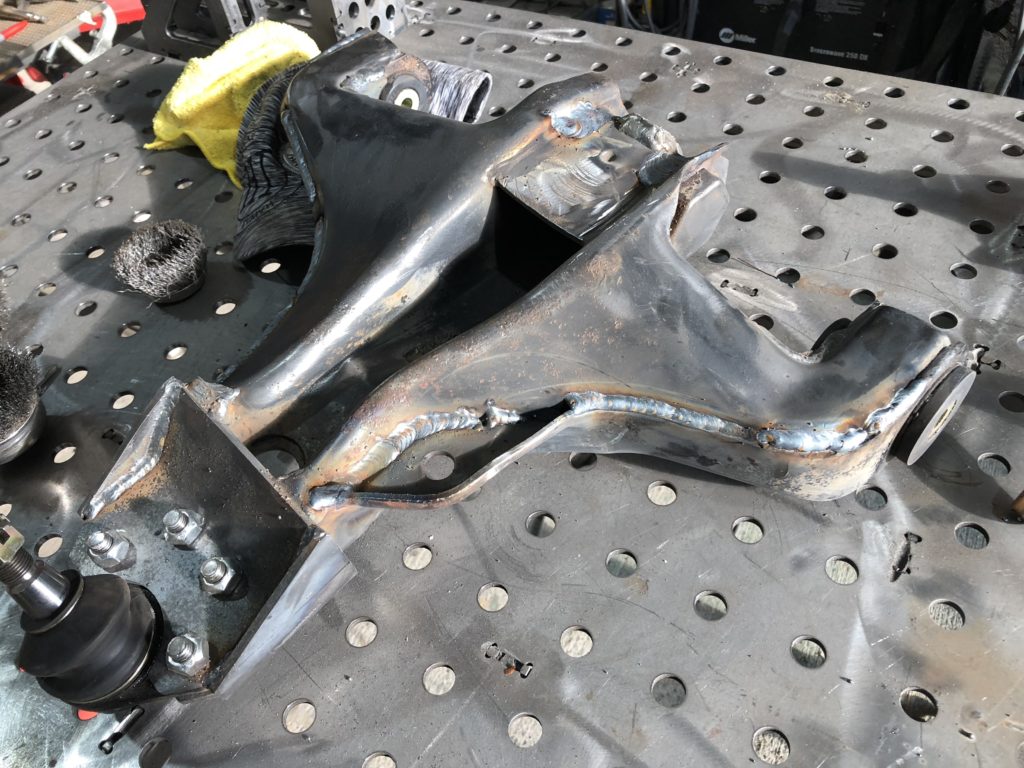
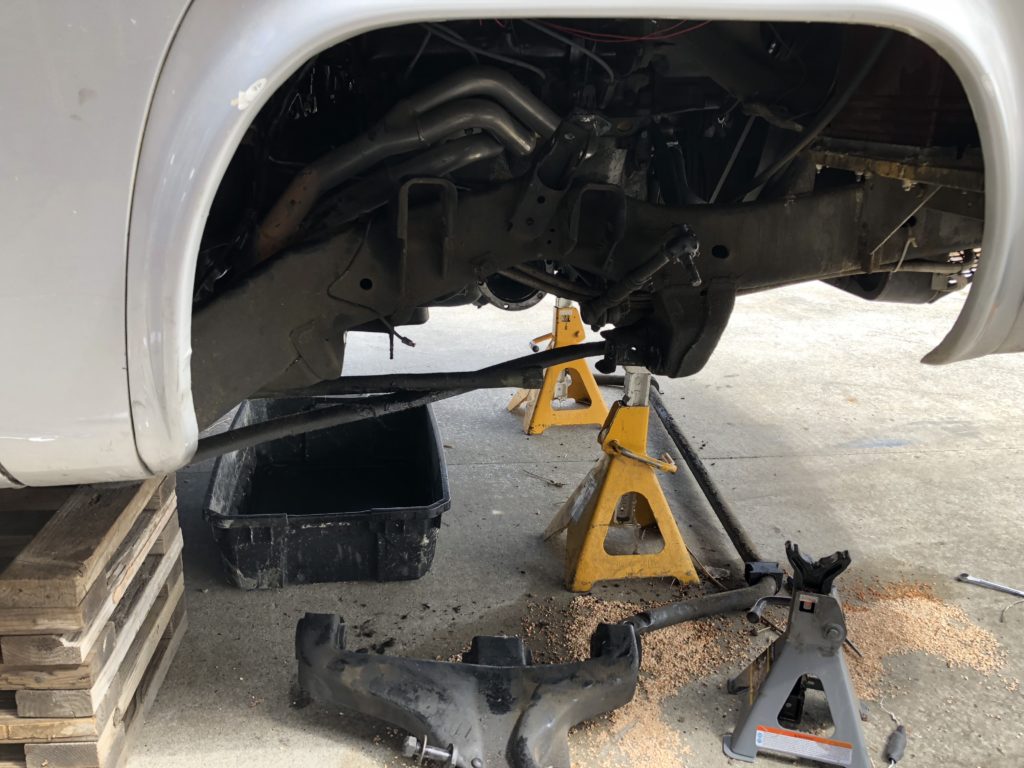
You might notice that there are no front wheels. The GMC coach in stock form weighs between 10,000 and 12,000 pounds and has the front end out of a 4000-pound Tornado. It looks as under-specced as that sounds. I’m installing a kit from Manny Trovao that replaces the lighter components with those from a 1 ton Chevy 4X4 truck and spaces the front wheels out even with the rear bogies. When I drove Fritz back to Hood River from Northern California I noted numerous handling flaws. I think this modification will eliminate a lot of them. I’m very glad that I did the tear-down, a lot of the front suspension was poorly assembled or had simply worn loose. The nuts holding the ball joints to the lower A-arm and control arm were finger-tight instead of 100 and 40 foot-pounds respectively. The passenger side control arm taper was beaten out by the ball joint working loose. The driver’s side lower A-arm had some kind of butchered modification or repair done to it. Seriously ugly.
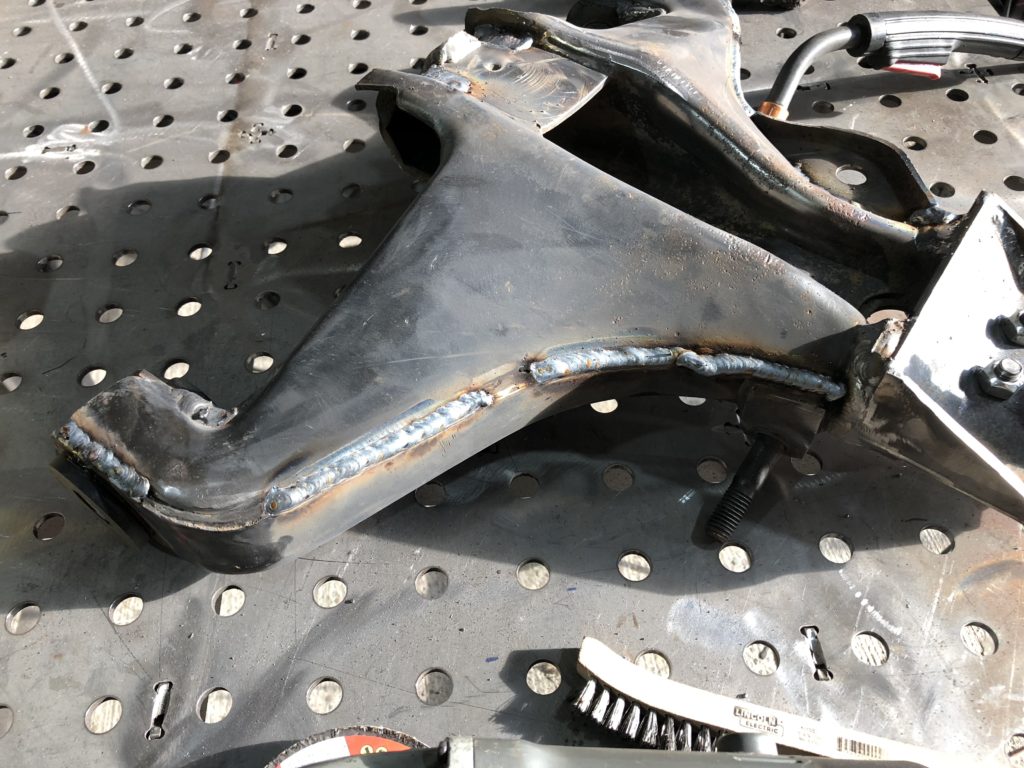
Since I’m an idiot, I welded the seams of the suspension arms. Probably completely necessary, but I have all this cool welding equipment, so…
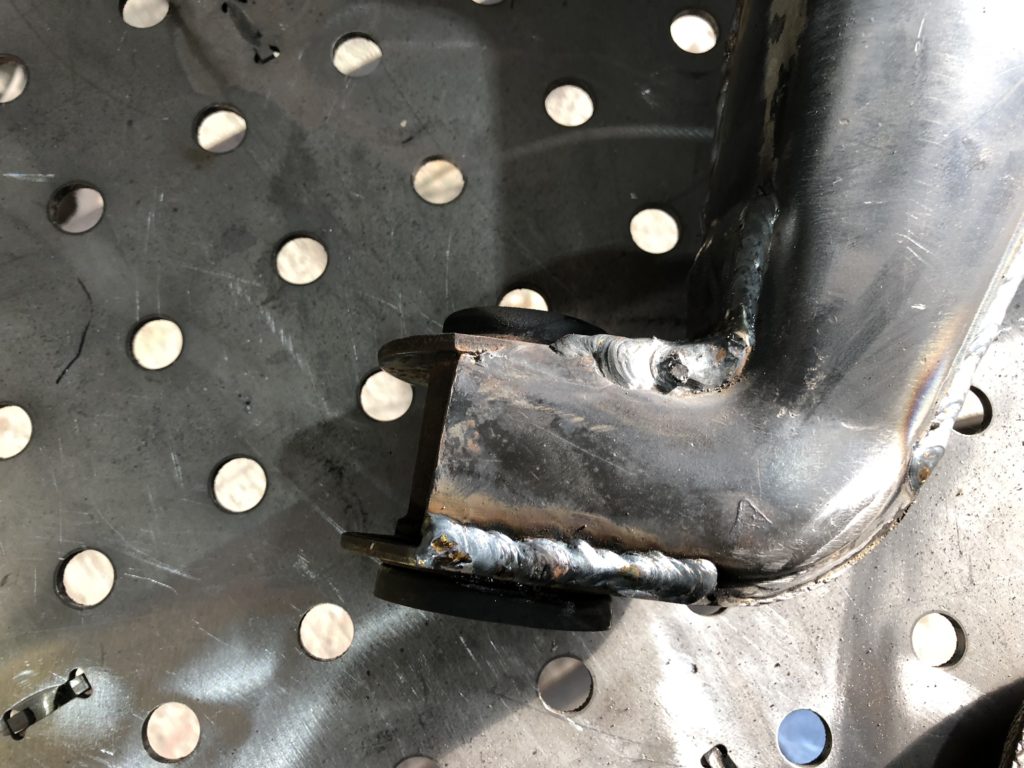
And of course, once you’ve welded the seams you need to clean them up and paint the parts. Am I just MAKING work for myself???
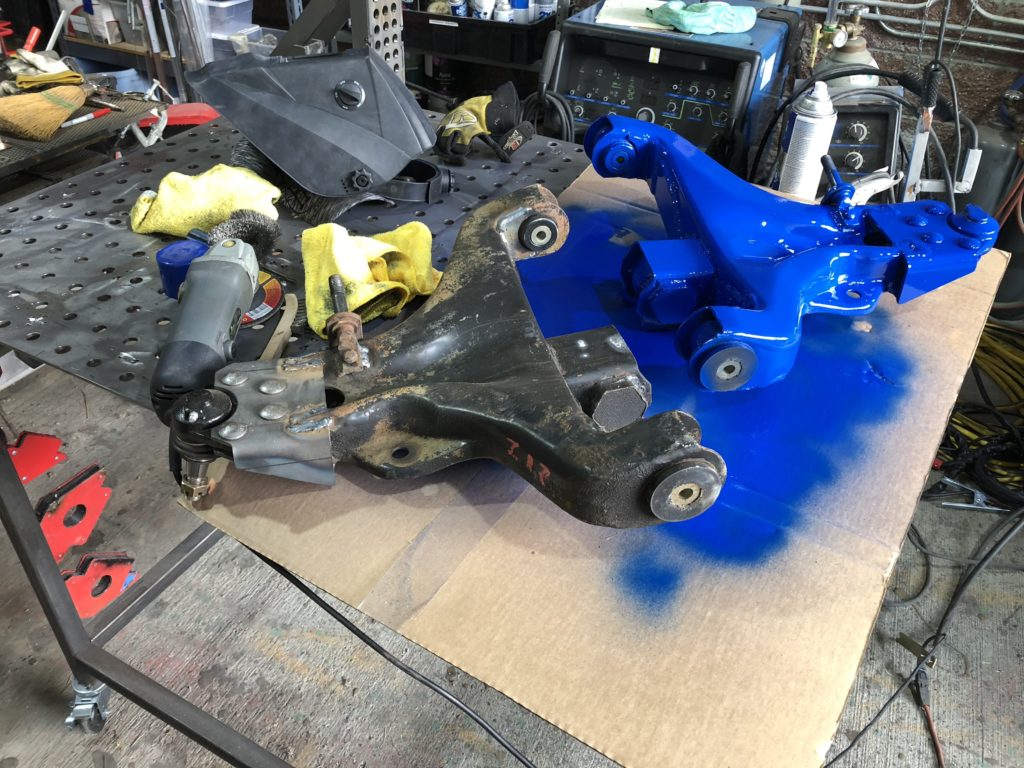
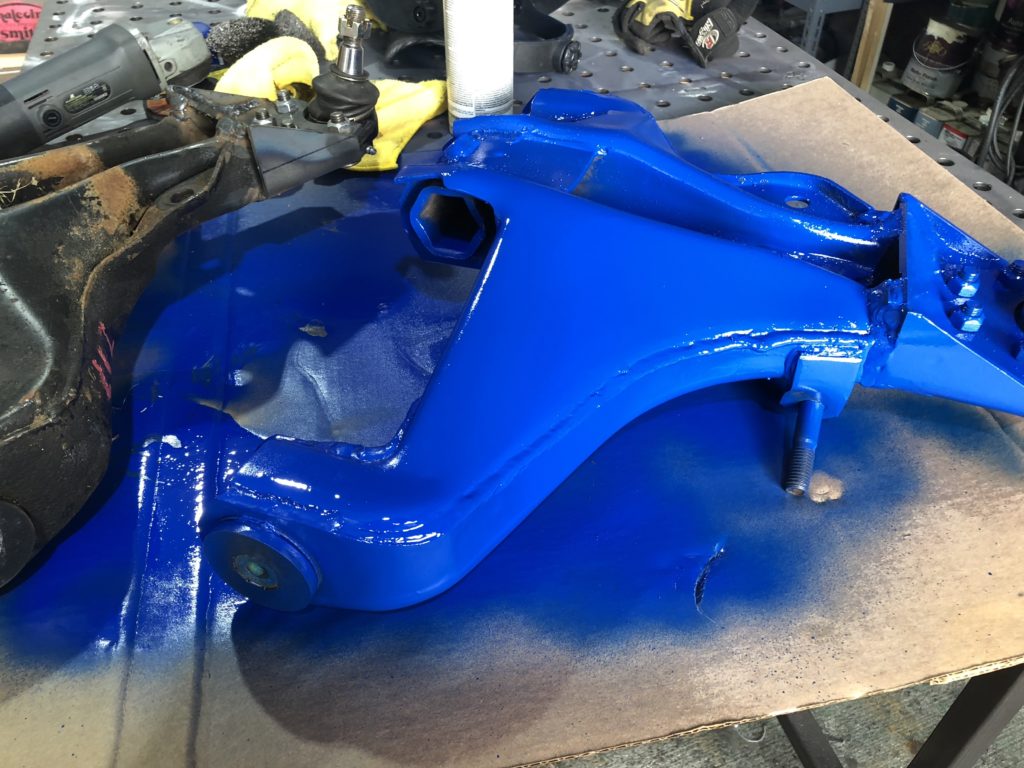
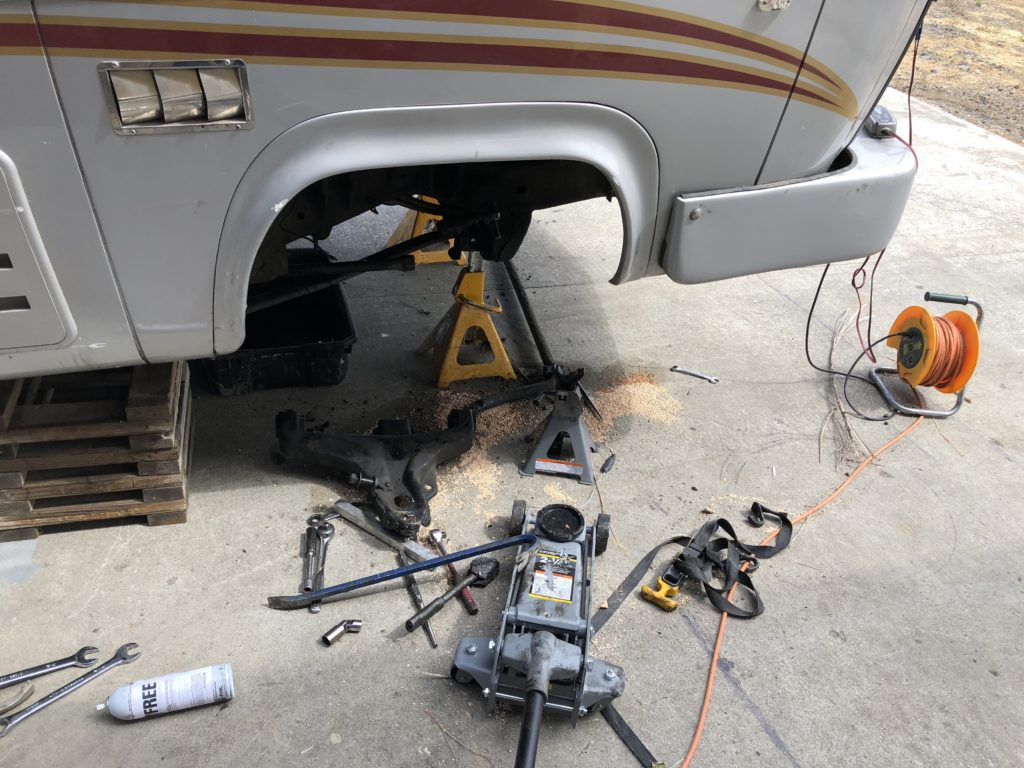
Here’s the front end with everything ripped out.
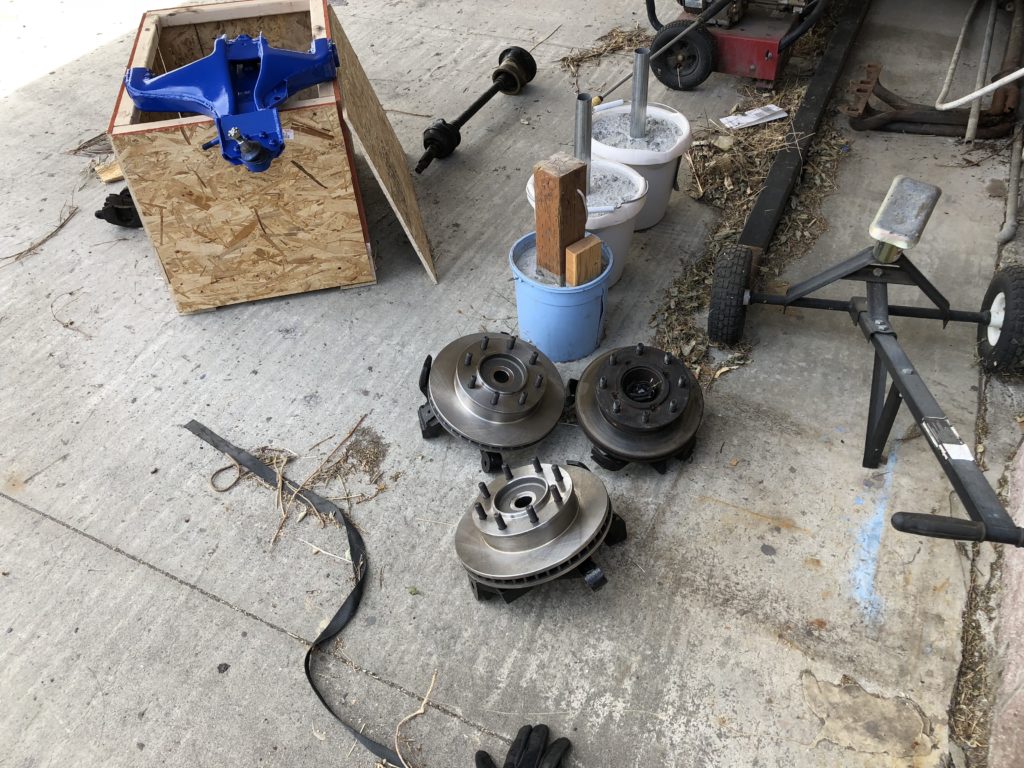
Here are the new knuckles, bearings, and disk rotors. Much meatier. The bearing are sealed and should be good for many beaucoup miles.
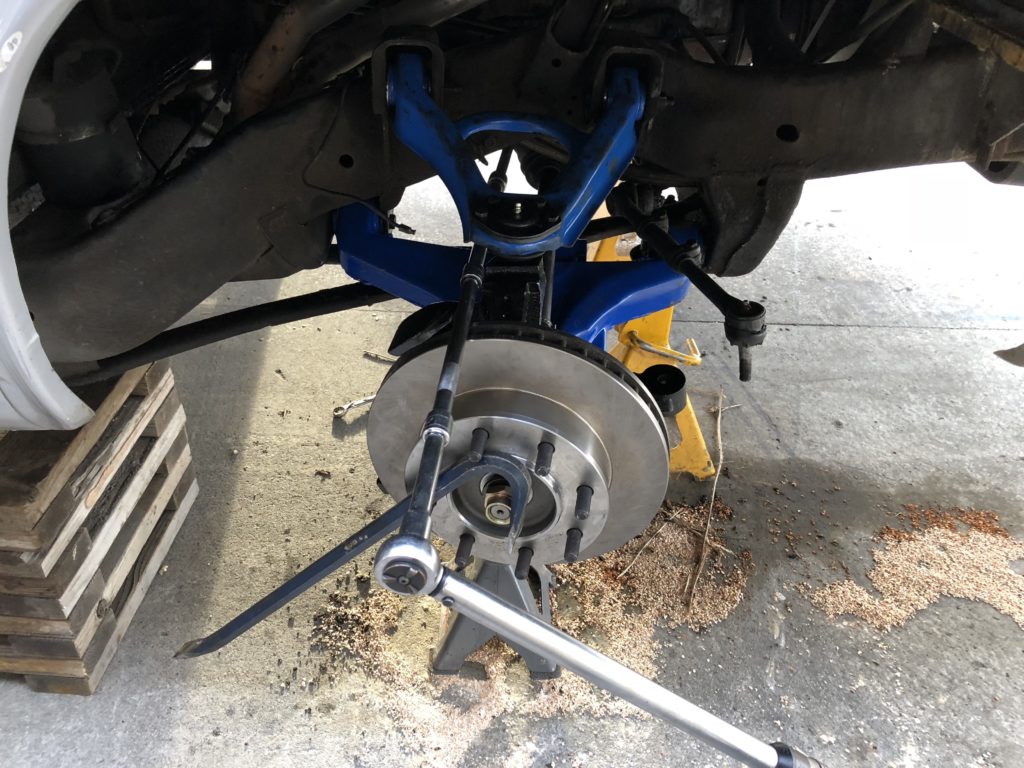
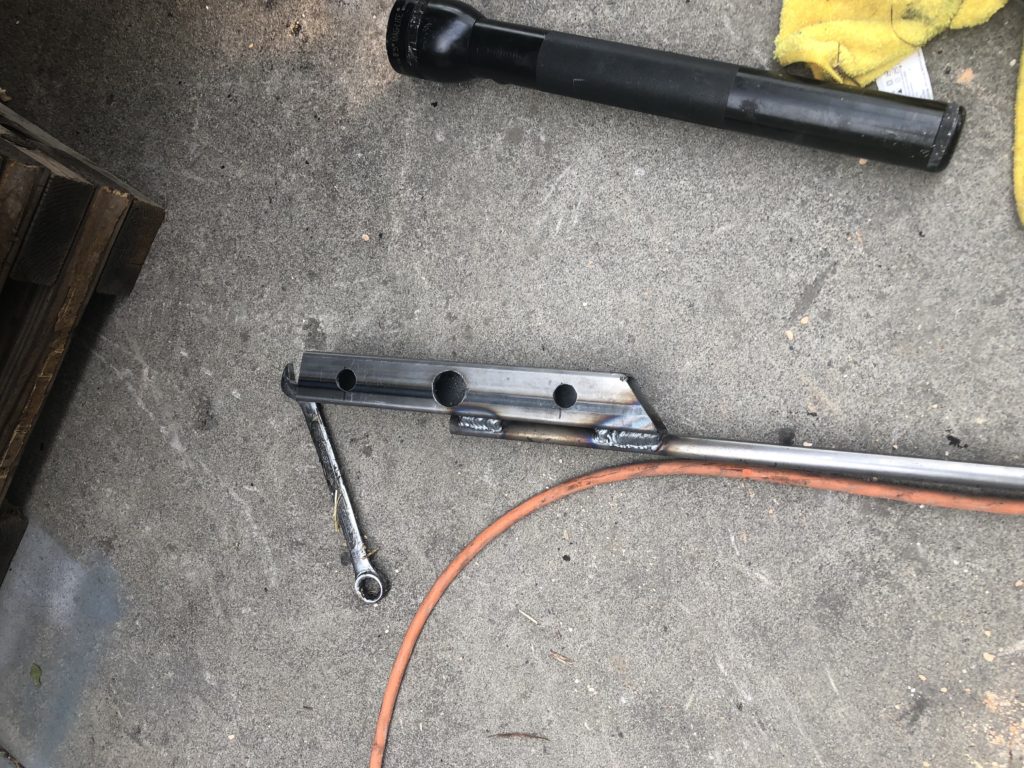
The instructions said to use a crowbar to hold the wheel while torquing the CV joint flange. I found that unhandy.
So I whipped this simple thing up. Much ho bettah.
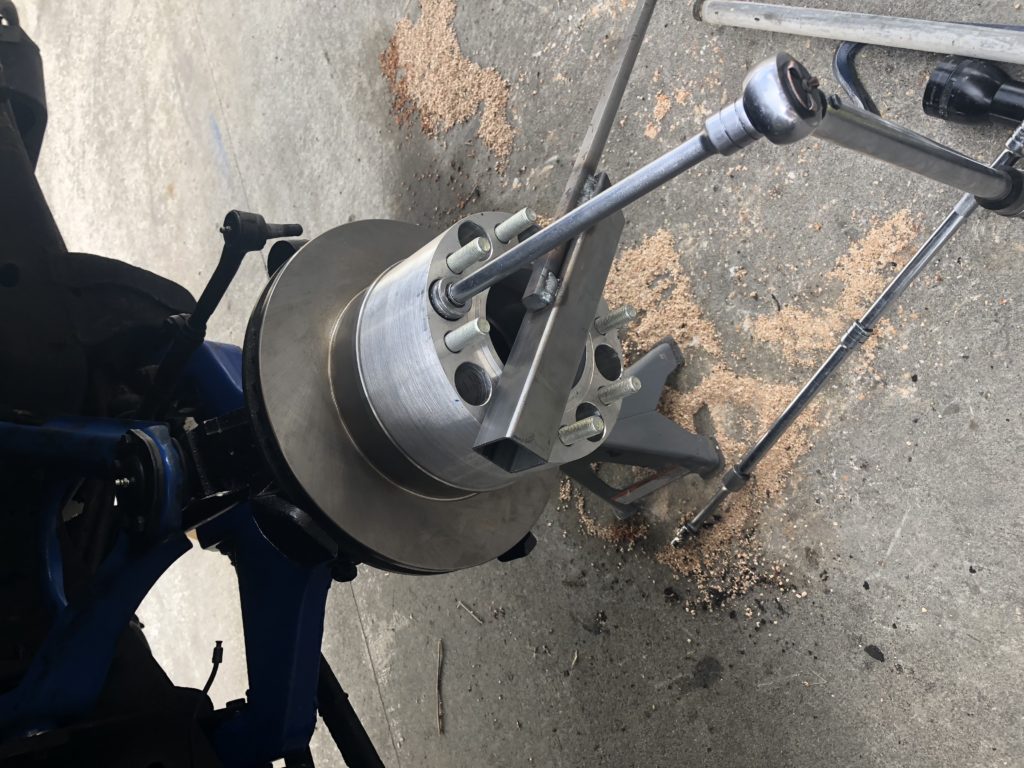
Works for torquing the adapter onto the disk rotor as well.
Unfortunately, when I was torquing the last bolt on the driver’s side CV flange the bolt stripped out of the flange. I tried like crazy to convince myself it would be OK to just leave it, and it probably would. But I can’t do that kind of stuff. I’d think about it every time I drove. So I took the flange off and I’m waiting for a Time-sert kit to be delivered. The inserts will take full torque if installed properly. As it turns out the instructions have an error in them. With the original flanges and bolts, the passenger side bolts are longer than the driver’s side, and they are torqued to 75 foot-pounds. The driver’s side bolts are shorter, and they should be torqued to 55. The bolts Manny Trovao provides are all short, and he told me after I’d screwed the pooch that I should only torque them to 50 pounds and use red locktite. Ok, will do. I’m going to fiddle a bit with the bolts to get maximum engagement. Since I’ve had to take everything apart I might as well. It should go back together quickly once I get the new bits.
More on that later.
I still have a lot of wiring to do and a dashboard to build. But I see the light at the end of the tunnel. I think.

I also live in Oregon, in the gorge. I am starting on my second GMC and would love to hear/see your experiences with your GMC. Maybe being social isn’t your bag, if that is the case I totally understand. I am following you on your solar project, and loving it.
Thanks for your blogs.
Steve